Welcome to the Nikon D7200 user manual! This high-performance DSLR camera is designed for enthusiasts and professionals, offering excellent versatility and advanced features for capturing stunning images.
1.1 Overview of the Nikon D7200
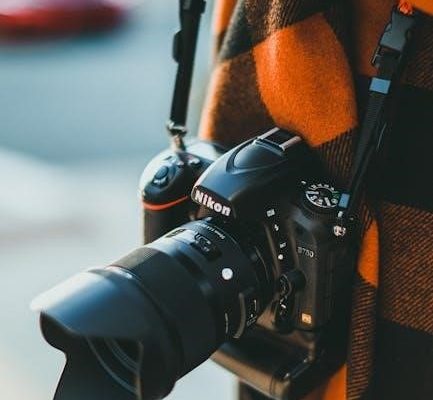
The Nikon D7200 is a high-performance DSLR camera designed for photography enthusiasts and professionals. It features a 24.2-megapixel APS-C sensor, EXPEED 4 image processor, and a weather-sealed magnesium alloy body. With a wide ISO range of 100-25600, it excels in low-light conditions. The camera also offers 1080p video recording, built-in Wi-Fi, and NFC connectivity. Its durability and advanced features make it ideal for capturing high-quality images in various shooting scenarios.
1.2 Key Features of the Nikon D7200
The Nikon D7200 boasts a 24.2MP APS-C CMOS sensor and EXPEED 4 processor, delivering sharp images with excellent low-light performance. It features 51 AF points, 6fps continuous shooting, and 1080p video at 60fps. Built-in Wi-Fi and NFC enable easy image transfer, while weather-sealing protects against harsh conditions. The camera also includes a 3.2-inch LCD and dual SD card slots for enhanced storage and workflow efficiency.
Getting Started with the Nikon D7200
Welcome to the Nikon D7200 setup guide! This section will walk you through the essential steps to get your camera up and running, ensuring a smooth start to capturing stunning images with ease.
2.1 Unboxing and Initial Setup
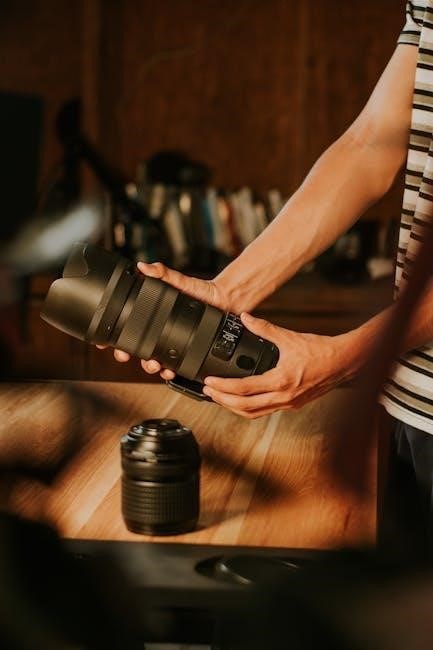
Upon unboxing, you’ll find the Nikon D7200 camera body, a kit lens (if included), rechargeable battery, battery charger, neck strap, eyecup, and user manual. Begin by carefully inspecting all items for damage. Attach the neck strap for secure handling and mount the lens by aligning the white dots on the camera and lens, turning clockwise until it clicks. This setup ensures you’re ready to begin your photography journey with the D7200.
2.2 Charging the Battery and Inserting the Memory Card
Charge the EN-EL15 battery using the supplied MH-25a charger. A full charge takes approximately 2 hours; Insert the battery by opening the compartment on the camera’s base and sliding it in until it clicks. For the memory card, open the slot on the right side, ensuring the card’s contacts face the camera. Use SD, SDHC, or SDXC cards. Close the slot securely and format the card in the menu for optimal performance.
Understanding the Camera Controls
This section introduces the Nikon D7200’s external controls and menu system. Familiarize yourself with key buttons, dials, and settings to enhance your shooting experience and creativity.
3.1 External Controls and Buttons
The Nikon D7200 features an intuitive layout with external controls designed for quick access to essential functions. The mode dial on top allows easy switching between shooting modes, while the shutter release button is paired with the power switch for seamless operation. The Fn button provides customizable shortcuts, and the AF-mode selector enables easy switching between autofocus modes. Additional buttons like the multi-selector, ISO button, and command dials offer precise control over settings, enhancing your shooting efficiency and creativity.
3;2 Navigating the Menu System
The Nikon D7200 menu system is accessed by pressing the Menu button. Use the multi-selector to navigate through options and the OK button to select. The menu is divided into tabs, including Playback, Shooting, Setup, and Custom Settings. Each tab contains specific functions, allowing you to customize camera settings, adjust image quality, and tailor the camera to your preferences. This intuitive system ensures easy access to advanced features.
Customizing Your Shooting Experience
Customizing your shooting experience with the Nikon D7200 allows you to tailor camera settings to your preferences, enhancing creativity and workflow efficiency. Explore personalized options.
4.1 Setting Up Custom Shooting Modes
Custom shooting modes allow you to save preferred camera settings for quick access. Use the U1 and U2 modes on the mode dial to store configurations. Adjust exposure, autofocus, and other settings to suit your needs. This feature is ideal for specific scenarios like portraits, landscapes, or low-light photography. Save your settings and access them instantly for efficient shooting.
4.2 Assigning Functions to Buttons
To enhance your shooting experience, the Nikon D7200 allows you to assign custom functions to specific buttons. Access the Custom Setting Menu, select the button you wish to customize, and choose from a range of functions like ISO, white balance, or AF modes. This feature streamlines your workflow, enabling quick access to frequently used settings and improving overall camera handling efficiency.
Shooting Modes and Settings
The Nikon D7200 offers a variety of shooting modes, from fully automatic to manual, allowing photographers to balance ease of use with creative control, catering to all skill levels.
5.1 Automatic Modes: Auto and Scene Modes
The Nikon D7200 features Auto Mode for effortless photography, automatically adjusting settings for optimal results. Scene Modes, such as Portrait, Landscape, and Sports, tailor settings to specific situations, ensuring vibrant and sharp images. These modes simplify photography, allowing users to capture stunning photos without manual adjustments, making them ideal for beginners or quick shooting scenarios.
5.2 Manual Modes: P, S, A, and M Modes
The Nikon D7200 offers manual modes for advanced control: Program (P), Shutter Priority (S), Aperture Priority (A), and Manual (M). P mode provides automated adjustments with user input, while S and A modes let you control shutter speed or aperture, respectively. M mode offers full manual control for precise adjustments. These modes allow photographers to tailor settings for creative expression and professional results in various shooting scenarios.
Image Quality and File Formats
The Nikon D7200 supports various image quality settings and file formats, including JPEG and RAW, allowing photographers to balance file size and image detail according to their needs.
6.1 Understanding Image Quality Settings
The Nikon D7200 offers customizable image quality settings, allowing you to adjust resolution, compression, and color depth. These settings determine file size and detail. Lower resolution reduces file size but compromises quality, while higher settings preserve more detail. Understanding these options helps optimize storage and ensure your photos meet your creative and technical requirements.
6.2 RAW vs. JPEG: When to Use Each Format
RAW files capture all image data, offering greater flexibility in post-processing, while JPEG files are compressed and ready for sharing. Use RAW for high-quality edits and JPEG for convenience. Choose RAW in complex lighting or for professional work, and JPEG for everyday shots where immediate use is prioritized. Both formats can be used together for versatility.

Working with Lighting and Flash
Lighting and flash are crucial for enhancing your photography. The Nikon D7200 offers a built-in flash and supports external flash units for greater control. Mastering different lighting conditions ensures optimal image quality and creativity.
7.1 Built-In Flash and External Flash Options
The Nikon D7200 features a built-in flash for convenient lighting in low-light conditions. It automatically pops up when needed and provides decent coverage for everyday shooting. For advanced lighting control, the camera supports external flash units like Nikon’s Speedlight system. External flashes offer greater flexibility, enabling bounce flash, wireless operation, and more creative lighting setups to enhance your photography.
7.2 Shooting in Different Lighting Conditions
The Nikon D7200 excels in various lighting conditions. In low light, use higher ISO settings or external flash for better results. Under bright sunlight, adjust exposure compensation and use a polarizing filter to reduce glare. Overcast skies provide soft, diffused light, ideal for vibrant colors. Indoors, experiment with white balance settings to match artificial lighting, ensuring accurate color reproduction in every environment.
Reviewing and Managing Your Images
High-quality photos can be reviewed and managed efficiently on the Nikon D7200’s detailed LCD screen, utilizing essential tools and intuitive controls for optimal organization.
8.1 Playback and Image Review
The Nikon D7200 allows you to review images on its 3.2-inch LCD screen. Use the Zoom button to enlarge details, and the Multi-selector to navigate through photos. The Playback menu offers options to adjust slideshow settings, rotate images, and display histograms for exposure analysis. You can also protect images from accidental deletion, ensuring your favorites are safeguarded. This feature-rich system simplifies image management and review.
8.2 Deleting and Protecting Images
To delete images, press the Delete button (trash can icon) while reviewing photos. You can delete single images or multiple files at once by selecting them in the Playback menu. Protecting images prevents accidental deletion; use the Protect option in the Playback menu to lock your favorite shots. This ensures important memories remain safe while allowing you to manage your memory card efficiently.

Advanced Features and Techniques
Unlock the Nikon D7200’s full potential with advanced features like HDR, interval shooting, and time-lapse photography. Master these techniques to enhance your control and creative output.
9.1 Using Continuous Shooting Mode
Continuous Shooting Mode on the Nikon D7200 allows you to capture up to 6 frames per second in DX format. Perfect for action, sports, or wildlife photography, this mode ensures you never miss a decisive moment. To activate, press the Release Mode Dial and select CH (continuous high-speed). The camera will shoot continuously while the shutter button is pressed, storing images in the buffer until the card is full or the button is released. Use a fast memory card to maximize performance and minimize lag.
9.2 Bracketing and HDR Photography
Bracketing on the Nikon D7200 allows you to capture multiple shots at different exposures, ideal for high-contrast scenes. Use the BKT button to set the number of shots (up to 9) and exposure increments. For HDR photography, enable HDR in the Shooting Menu. The camera merges bracketed images into one with enhanced dynamic range. Use a tripod for best results and ensure subjects remain still to avoid ghosting effects.
Troubleshooting and Maintenance
Welcome to the troubleshooting and maintenance section. This guide helps resolve common issues and provides tips for maintaining your Nikon D7200. Regularly check battery levels, memory card functionality, and lens cleanliness for optimal performance. Address errors promptly and refer to the menu for diagnostic tools. Proper care ensures longevity and consistent image quality.
10.1 Common Issues and Solutions
Common issues with the Nikon D7200 include the camera not turning on, blurry images, or memory card errors. For power issues, check the battery or try a different one. Blurry photos may result from improper autofocus or shaky hands; ensure AF is active and use a tripod. Memory card errors often require formatting or replacing the card. Consult the manual for detailed solutions to resolve these problems effectively.
10.2 Cleaning and Maintaining the Camera
Regular maintenance ensures the Nikon D7200 performs optimally. Clean the exterior with a soft cloth and avoid harsh chemicals. Use a microfiber cloth for the lens and viewfinder. Activate the built-in sensor cleaning mode to remove dust. Store the camera in a dry, cool place, away from direct sunlight. Use a silica gel packet to absorb moisture and consider updating firmware periodically for improved functionality and bug fixes.